
Website backup automatically via FTP, SFTP (SSH)
How to set up a website backup to a local PC
Why is it better to back up your website yourself rather than relying on your hosting provider?
Almost any website consists of many scripts, HTML pages, images, CSS files, JS files, text files, databases, etc. These files can be modified manually by the webmaster or through CMS systems such as WordPress, HostCMS, Joomla, etc. Website files can be accidentally deleted or corrupted, and need to be restored. So, the importance of site backups has already been confirmed in many cases.
Does your hosting provider take care of regular backups of your website?
Ask your hosting provider how often they back up your website? Most likely, your provider makes backups of the entire virtual server, including your website, once a week. If problems arise with website files, for example, if only 1-2 files need to be restored, the hosting provider will only be able to restore the entire website (all website files). The second disadvantage is that you will have to restore files from the latest backup, which may have been created few days ago. When restoring files from the last backup, you'll lose all orders placed over the past few days. This is often unacceptable.
To ensure the safety of your website's data and be ready to selectively restore files at any time, you must manually configure site backups from your web server to your local PC.
This article will show you how to easily set up automatic website backups via FTP or secure SFTP protocol (SSH File Transfer Protocol) using the special Exiland Backup utility.
Unfortunately, Exiland Backup does not currently support backing up MySQL databases.
Download the demo version from the official page.
Regular backups will allow you to restore your files if something goes wrong.
What features does Exiland Backup provide?
Exiland Backup is a very easy-to-use file backup program designed to automatically create backups of website files, regardless of how the website was created (manually or using a CMS such as WordPress, Bitrix, Joomla, etc.)
Most hosting companies provide access to your website files via FTP and SFTP (SSH) protocols. Contact your hosting provider to find out the connection details to your web server using one of the above protocols, and then specify these details in Exiland Backup when creating a backup job. Exiland Backup can be installed on any PC with any Windows operating system (workstation/laptop or server with Internet access). The program will connect to your web server where the site is located and copy files from it to your local PC.
Creating a job to backup website files
Let's set up a backup of your website files – we'll copy them from the web server to your local PC using the SFTP (SSH) protocol, and then archive them in a ZIP archive so that the backup takes up less disk space.
So, please download and install Exiland Backup on your PC by running the "setup.exe" file, then follow the installer instructions. If you downloaded the Portable version of the Exiland Backup, simply run "ExilandBackup.exe" from the program folders.
After starting the program, the main window will appear. To create a new backup job, click the "Create" button located on the top panel. A step-by-step wizard will appear on the screen.
Step 1: Job Name
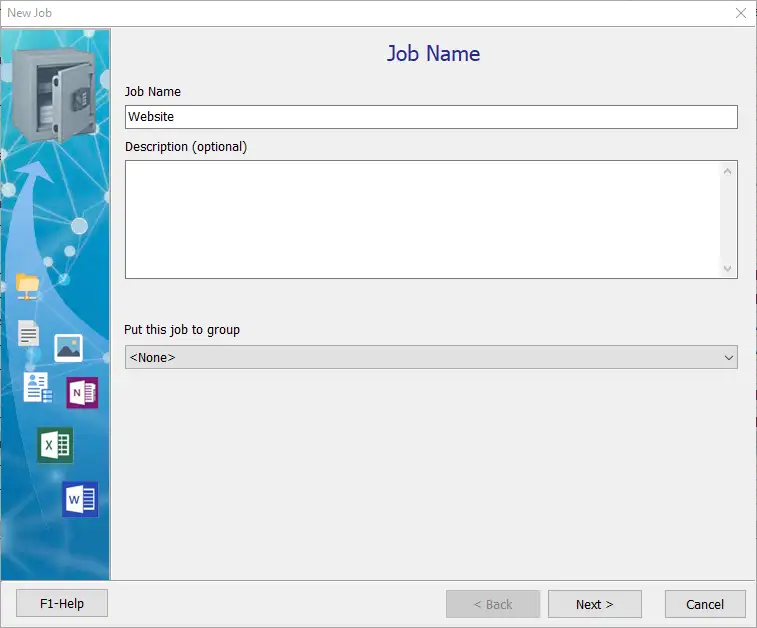
Name your backup job anything you like, for example, "Website", and click "Next".
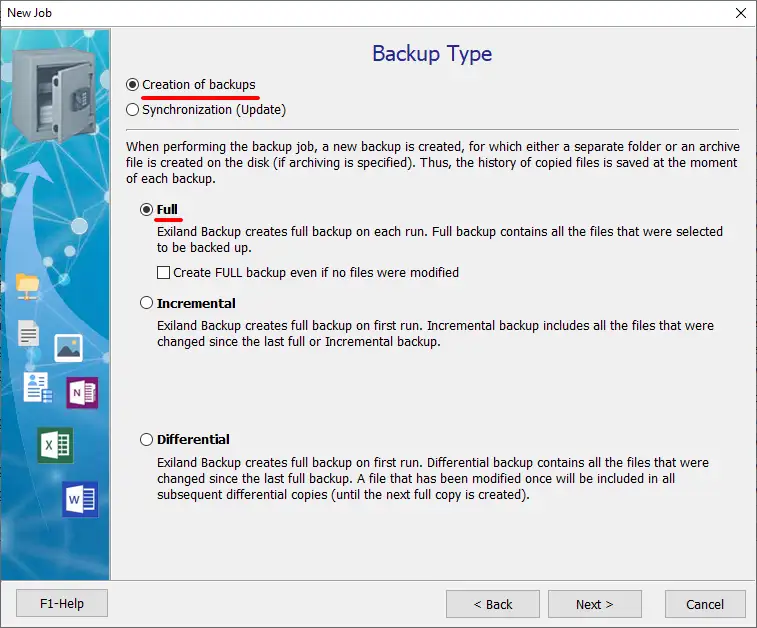
Step 2: Backup Type
Estimate the approximate size of the source data and the time required to complete the job. If the source data volume is not too large, you can select the Full backup type. If the source data volume is large, select the Incremental backup type.
Step 3: Source files and folders
To specify the source data you want to back up, click "Add – SFTP files and folders". A window for selecting web server folders will appear. Select "New Connection" from the drop-down list, specify the settings for accessing the SSH server, and click "Connect". After successful connection, a list of files on the server will be read. Select the folders and files you want to backup and click "OK".

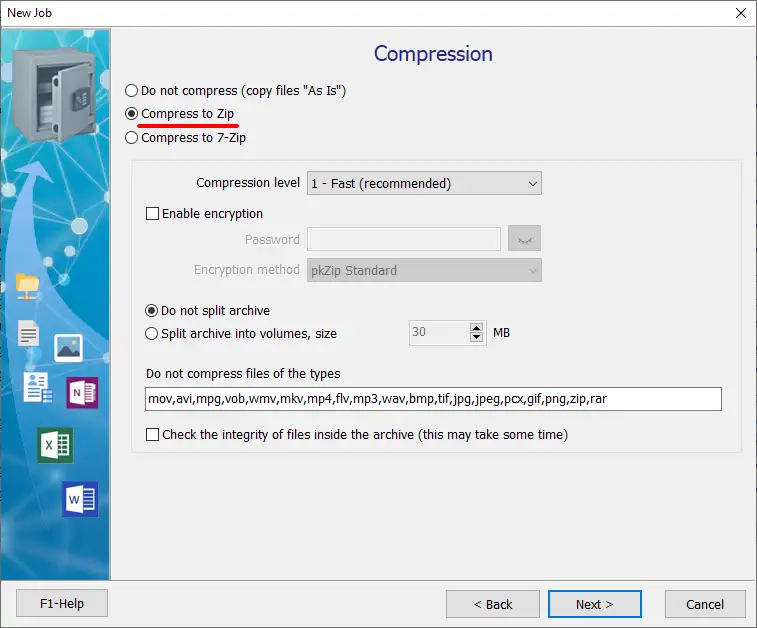
Step 4: Compression
At this step, select "Compress to Zip" and specify archiving settings (compression level, encryption, splitting the archive into volumes (if required), integrity check) and click "Next".
Step 5: Where to save backups
You can specify multiple storage locations here. But, for example, we will specify just one – a folder on the local drive, such as "D:\Backups". To do this, click "Add - Local / Network Folder", then click the "..." button on the right and select our folder.
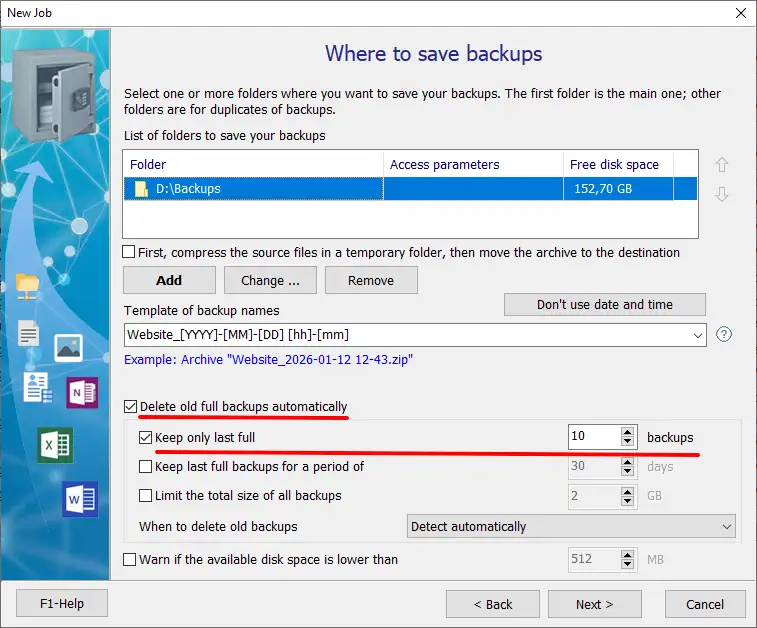
Below the list of storage locations, select a template according to which names will be assigned to future backups (ZIP archives).
To prevent backups from being created indefinitely until the disk is completely full, we will limit the number of saved archives, for example, 10. In this case, when the 11th backup is created, the 1st copy (the oldest) will be automatically deleted from the disk. Thus, the archives on the disk will be rotated.
You can also limit the number of backups by storage time or limit the total size of all backups.
Step 6: Schedule
Click "Enabled" and specify the schedule for the backup job to start, for example, Every day (at 11:00 PM).
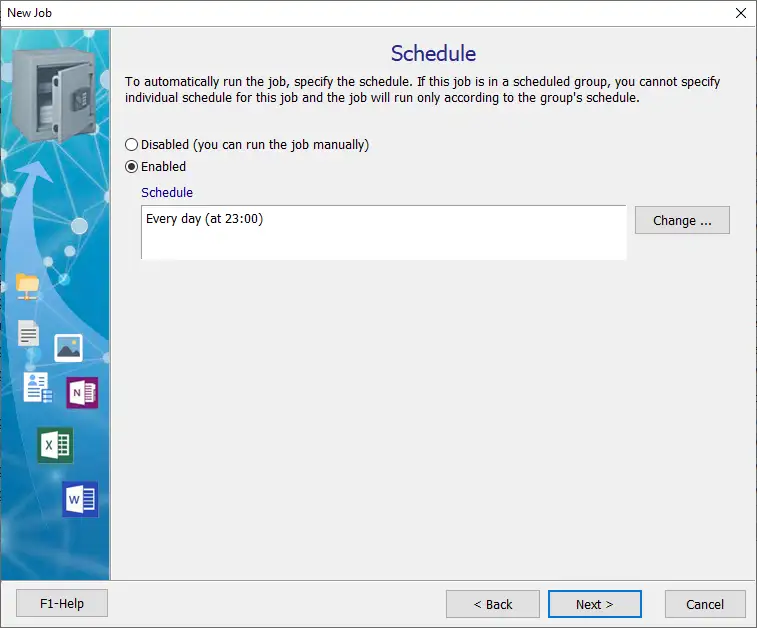
Tip: It's best to back up your website at night, when there are few visitors and your local PC is not in use.
Step 7: Notification
To monitor the execution of the job, you can set up sending a report to yourself or your administrator by e-mail. This way, if any problems arise while executing the job, you will be notified about them.
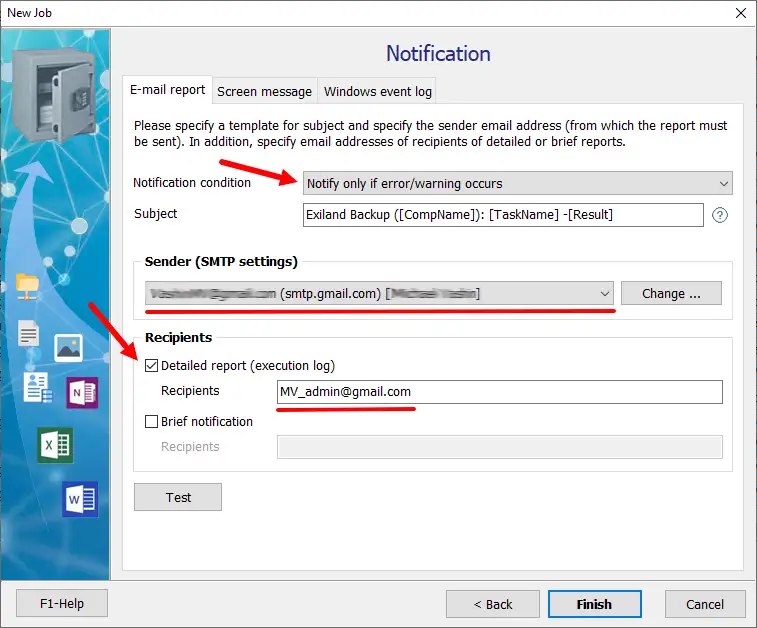
Click "Finish" to complete the job creation. The job is created!
Running a created job and viewing the result
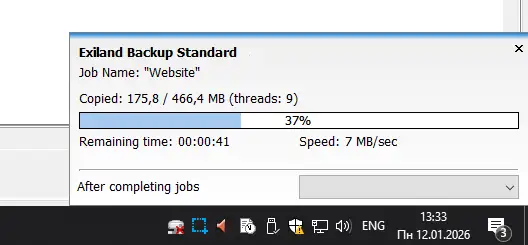
Click the "Run" button located on the top panel and watch the website backup process.
While a job is executing, a progress indicator panel is displayed in the Notification area (System Tray). You can configure the display method of the information panel in the general program settings. You can close the information panel or minimize the entire program to the Notification area (System Tray).
Also, while the job is executing, a detailed log is maintained on the "Execution Log" tab, informing you of the stages, possible errors, and the result of the job.
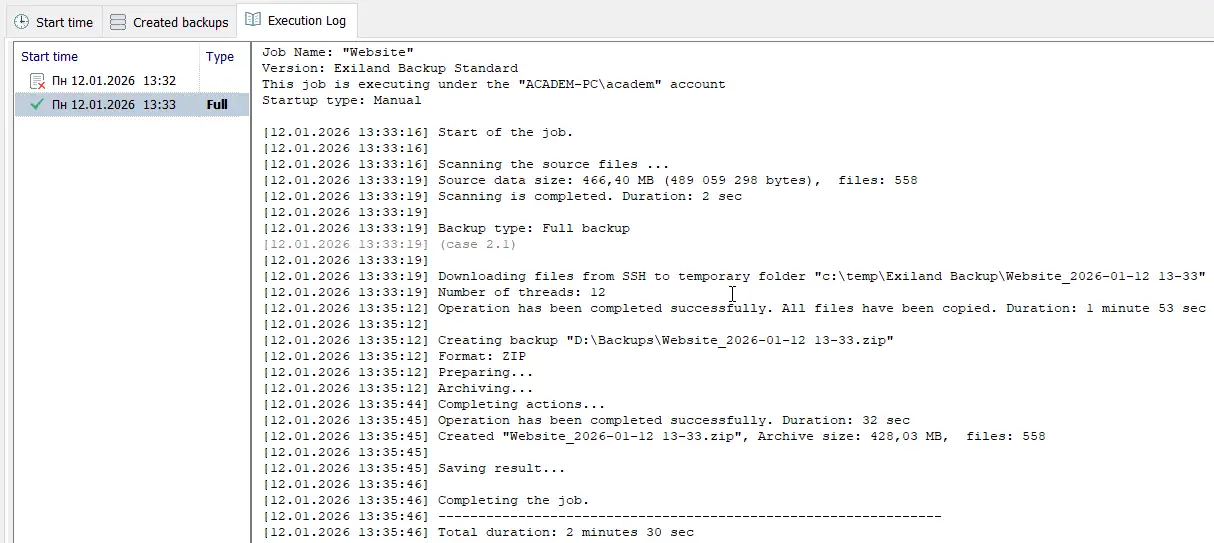
The result is a created ZIP archive, which is displayed on the "Created backups" tab.

Restoring files from a backup
If some website files are damaged, erased, or accidentally deleted, you can restore them from a backup to their original location.
On the "Created backups" tab, double-click on the backup – a window with the contents of the ZIP archive will open.
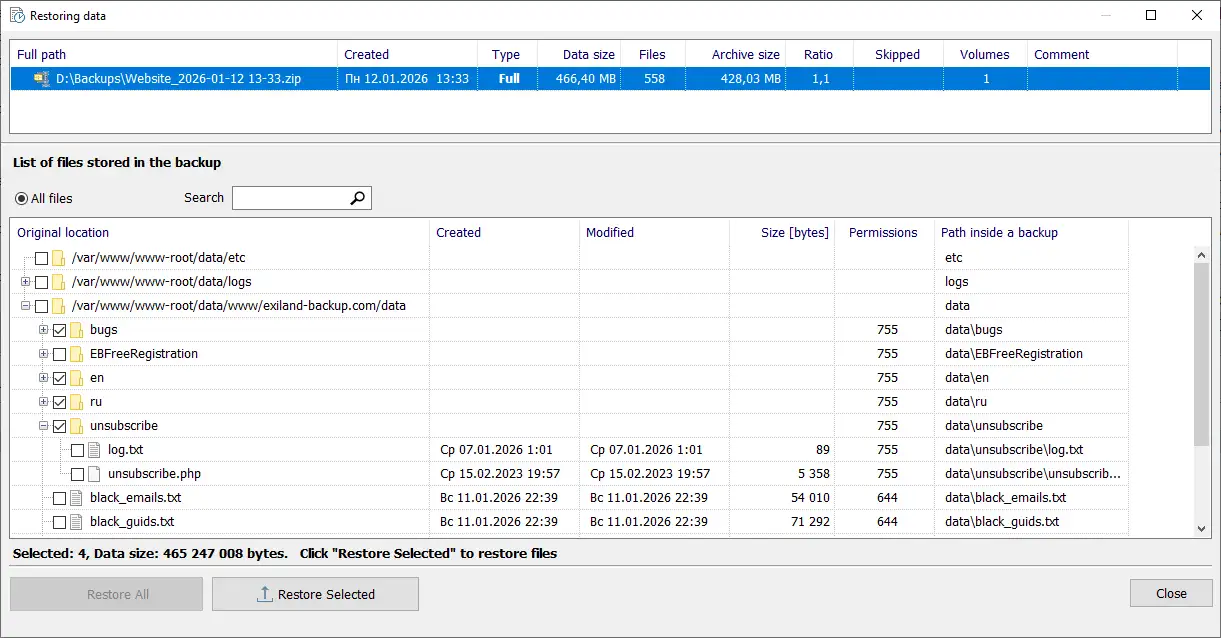
Select the files and folders to restore and restore them to their original location or Unzip them to a specified folder on your local drive by clicking "Restore Selected". If you need to restore all files from the backup, click "Restore All".
You can download and try the demo version for free. Purchasing the full version of Standard or Professional includes one year of free updates and technical support, a personal account, and a number of other benefits.